
Key takeaways
- Age Range Description: Adult
- Mount Type: Doorway Mount
- Item Dimensions W x H: 37"W x 20.2"H
A doorway pull up bar succeeds or fails on two measurements almost nobody checks before ordering: the width of the opening between the casings, and the depth of the trim that sticks out from the wall. Most doorways in North American homes are 30, 32, or 36 inches wide, and most decorative casing projects between half an inch and an inch. A bar built for a flush, trimless opening will rock and squeak in a house with chunky colonial molding. A bar built for thick trim will sit loose in a modern flat-jamb apartment. Fit is not a detail here — it is the whole safety story.
The second thing worth understanding is where your body weight actually goes. On an over-door leverage bar, your pulling force does not press down on the bar so much as it pries the upper cradle backward into the wall above the frame while the lower arms push forward against the door casing. That is a lever, and levers concentrate load. On a 180-pound climber, the contact pads can transmit several hundred pounds of localized pressure into painted pine trim. The picks below are grouped by how they handle that load — through wide pads, through screws into the header, or through pressure between jambs — because that is what separates a bar you trust from a bar you baby.
Our top picks
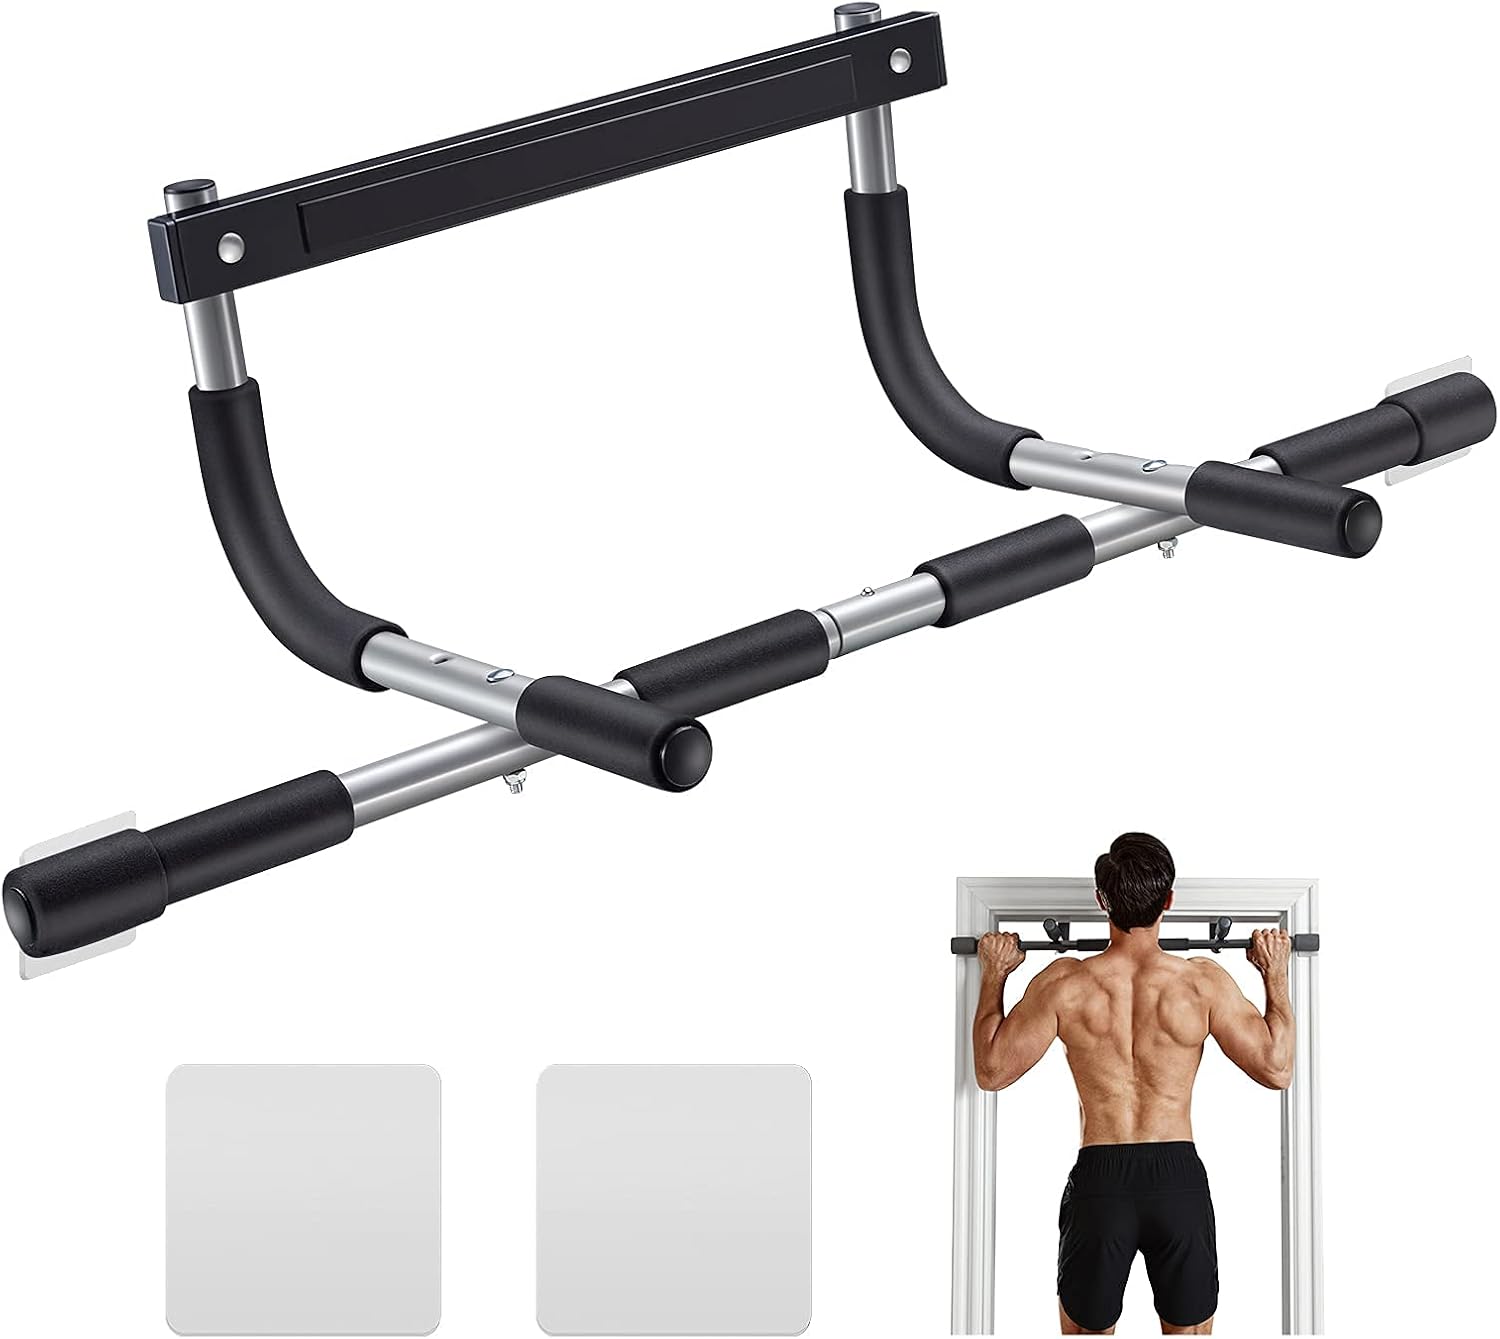 Ally Peaks Pull Up Bar for Doorway
- Age Range Description: Adult
- Mount Type: Doorway Mount
- Item Dimensions W x H: 37"W x 20.2"H
| Product | Key specs | |
|---|---|---|
| Ally Peaks Pull Up Bar for Doorway | Age Range Description: Adult Mount Type: Doorway Mount Item Dimensions W x H: 37"W x 20.2"H | Check price |
 Ally Peaks Pull Up Bar for Doorway Ally Peaks Pull Up Bar for Doorway | Check price | |
 Body-Solid Body-Solid | Check price | |
 Sportneer Pull Up Bar for Doorway Sportneer Pull Up Bar for Doorway | Age Range Description: Adult Mount Type: Doorway Mount Item Dimensions W x H: 37.01"W x 6.69"H | Check price |
 KAKICLAY 2026 Upgrade Multi-Grip Pull Up Bar KAKICLAY 2026 Upgrade Multi-Grip Pull Up Bar | Age Range Description: Adult Mount Type: Doorway Mount Item Dimensions W x H: 10.5"W x 2"H | Check price |
 TOPOKO Pull Up Bar for Doorway TOPOKO Pull Up Bar for Doorway | This barra de bar can do various exercises This indoor pull up bar is constructed of… The top of this pull-up bar is equipped… | Check price |
 EVERYMATE Wall Mount Pull Up Bar EVERYMATE Wall Mount Pull Up Bar | Check price | |
 Ally Peaks Pull Up Bar for Doorway Ally Peaks Pull Up Bar for Doorway | Check price |
As an Amazon Associate we earn from qualifying purchases at no extra cost to you.
Quick Comparison
| Pick | Mount Style | Opening Width Fit | Typical Capacity Range | Best For |
|---|---|---|---|---|
| Wide-Cradle Leverage Bar | Over-door, no drilling | Roughly 24–36 in | 250–300 lb | Renters with standard trim |
| Frame-Mounted Screw Bar | Lag screws into header | Fits most 32–36 in openings | 300–400 lb | Heavier lifters, kipping, weighted reps |
| Telescoping Jamb Bar | Pressure-fit between jambs | Adjustable 26–36 in | 200–250 lb | Dead-hangs, rows, stretching |
| Slim-Profile Trim Bar | Over-door, low-clearance | Roughly 28–34 in | 250 lb | Thin or flat modern casing |
| Multi-Grip Doorway Trainer | Over-door with under-door brace | Roughly 30–36 in | 275–330 lb | Neutral, wide, and narrow grip variety |
How to Choose
- Measure jamb to jamb, not door slab to door slab. Pull the tape between the inner faces of the casing at the height where the bar will sit. A 36-inch door often has a 34-inch usable opening once trim is accounted for.
- Check what is above the header. Tap the wall six inches over the door frame. Solid resistance usually means a structural header you can screw into; a hollow drum sound means you should stay with a no-drill design or find studs first.
- Match pad width to trim depth. Contact pads narrower than your casing will bite into the edge and dent it. Look for pads at least two inches wide, ideally with a rubber or EVA face rather than bare foam.
- Add 60 pounds to your bodyweight for the rating you need. Dynamic pulling, dropping off the bar, and any weight vest all spike peak load well above your scale reading.
- Confirm head and knee clearance. You want at least four inches between your knuckles and the ceiling at the top of a rep, and enough room behind you that your knees do not collide with the opposite jamb on a bent-leg hang.
Top Picks Reviewed
Wide-Cradle Leverage Bar
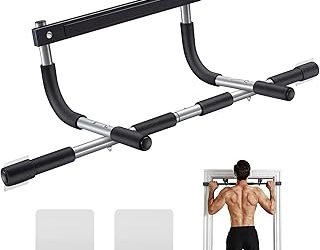
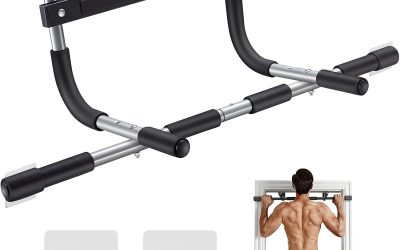
This is the archetype most people picture: a straight steel tube with two hooked arms that drape over the frame and two lower arms that brace against the casing below. What makes a good one good is the cradle geometry — wider spacing spreads load across more trim surface, and a deeper hook keeps the bar from walking sideways when you shift grip mid-set. Look for a version where the upper contact plates are separate padded shoes rather than one continuous bracket, because separate shoes tolerate uneven or textured wall surfaces better. Downside: it will leave faint compression marks on soft paint over time, and it needs a frame that projects at least half an inch.
Frame-Mounted Screw Bar
If you weigh over 200 pounds, plan to add a vest, or want to do anything explosive, screws are the honest answer. These bars bolt through mounting plates into the header above the door or into the studs flanking it, turning a lever problem into simple shear on four lag bolts. Installation takes twenty minutes with a drill and a stud finder, and the payoff is a bar that does not creak, shift, or need repositioning. The tradeoff is four permanent holes and a landlord conversation, so it is a homeowner pick more than a rental pick.
Telescoping Jamb Bar
A simple tube that expands with a threaded core until its end caps press hard against both jambs. Because load runs straight down into the bar rather than prying at the wall, it is the gentlest option on trim — nothing touches the painted face at all. The catch is that friction is doing all the work, so it demands a genuinely square opening with solid wood jambs, and it should be re-tightened weekly. Treat it as a hanging and stretching tool rather than a bar for aggressive sets.
Slim-Profile Trim Bar
Built for modern flat casing and doorways where a bulky cradle simply has nothing to grab. The upper hook is shallow, the lower brace pads are tall and thin, and the whole assembly sits within roughly two inches of the wall. That closeness is also its limitation: knuckle clearance is tight, so tall users may scrape the door frame on the way up. Excellent choice in newer builds and apartments with minimal molding.
Multi-Grip Doorway Trainer
The most versatile of the group, with angled neutral handles, a wide outer span, and often a lower foot that wedges beneath the door slab to kill rocking. The extra brace point genuinely changes the feel — less sway at the top of a rep and noticeably less noise. Because grips sit forward of the frame, elbow clearance improves for chin-ups. It is bulkier to store and heavier to lift into place, but for anyone rotating through several grip widths it earns the space.
Frequently Asked Questions
Will a doorway bar damage my door frame?
A well-fitted no-drill bar leaves shallow pressure marks in paint rather than structural damage. You can reduce this substantially by cutting squares of felt or thin cork and taping them under each contact pad. Damage becomes real when the bar is too narrow for the opening, when pads are undersized, or when the bar is repositioned repeatedly and grinds the finish.
How do I know whether my header can take screws?
Use a stud finder across the wall directly above the door. Framed openings almost always have a horizontal header with cripple studs above it, and you should get a solid reading across most of the span. If readings are inconsistent, drill a small pilot hole and feel for continuous resistance. Drywall-only anchors are not adequate for pull-ups at any rating.
Can I leave the bar mounted permanently?
No-drill bars can stay up, but inspect the contact points monthly for compressed padding, loosened bolts, or trim that has begun to crush. Screw-mounted bars are designed to live there. With telescoping bars, permanent installation is where trouble starts, since tension slowly relaxes as wood compresses.
What if my opening is wider than 36 inches?
Most doorway bars top out near 36 inches, so a wide or arched opening usually calls for a wall-mounted bracket bar screwed into two studs, or a freestanding tower. Attempting to span a wide opening with an undersized bar puts load on the very edges of the casing, which is exactly where trim splits.
Final Thoughts
Pick the mounting method first, the features second. If you own the place and want a bar you never think about again, screw it into the header and move on. If you rent, choose a wide-cradle or multi-grip design sized to your measured opening, pad the contact points, and check the fit every few weeks. If your priority is a quiet, trim-friendly bar for hanging and mobility work, the telescoping option is the one that touches nothing you care about. Whichever direction you go, spend the five minutes with a tape measure and a stud finder before you order — that small bit of diligence is what turns a doorway bar from a gamble into the cheapest reliable piece of equipment in the house.



Write Your Review
No reviews yet. Be the first to share your experience!