For most bathtubs, a 100 percent silicone sealant labeled for kitchen and bath, with a mildew-resistant formula, is the best choice, while a siliconized acrylic caulk suits buyers who want to paint the joint or clean up with water. Silicone stays flexible where the tub meets tile, which is the joint that moves most. Acrylic latex blends are easier to tool and paint but typically age faster in constant moisture. Below is how the main options compare, what the makers state about them, and how to match a tube to your tub.
Our top picks


As an Amazon Associate we earn from qualifying purchases at no extra cost to you.
Why the Tub Joint Is Hard on Sealant
A filled tub is heavy, and the rim moves slightly each time water is added or drained. The gap between the tub and the wall tile opens and closes with that movement, and it also changes with temperature. A rigid or low-flexibility product cracks along that gap, lets water behind the wall, and invites mold. Manufacturers of tub and tile sealants therefore stress flexibility, adhesion to non-porous surfaces such as acrylic, fiberglass and glazed tile, and mildew resistance. Those three properties matter more than color or brand.
At a Glance
| Product type | Best for | Key stated traits | Limits |
|---|---|---|---|
| GE Silicone 2 Kitchen & Bath | Everyday tub-to-tile joints | The maker lists 100 percent silicone, mold and mildew resistance, and waterproof, flexible seal | Not paintable; needs solvent-type cleanup |
| Gorilla 100% Silicone Sealant Kitchen & Bath | Shoppers wanting a widely stocked silicone | The maker lists waterproof, mildew-resistant, and flexible formulation | Not paintable; cure time varies with joint depth |
| DAP Kwik Seal Ultra | Easier tooling and water cleanup | The maker describes a siliconized acrylic latex with mildew-resistant protection and a short wait before water exposure | Less flexible than pure silicone over time |
| DAP Alex Plus | Painted trim and baseboards near the tub | The maker describes an acrylic latex with silicone added, paintable | Better for dry areas than a constantly wet tub line |
| Sashco Lexel | Clear, nearly invisible joints | The maker describes a clear, flexible, paintable sealant | Requires careful surface prep; clear lines show dirt |
| Red Devil and similar budget tubes | Light-duty touch-ups | Usually acrylic or hybrid blends | Check the label for tub and tile suitability |
Silicone vs. Acrylic vs. Hybrid
100 percent silicone
Silicone is the standard answer for wet joints. It resists water, stays elastic, and bonds well to glass, glazed tile, acrylic and fiberglass. The trade-offs are that it does not accept paint, it can be messy to smooth, and old silicone must be fully removed before new silicone will bond. Products such as GE Silicone 2 Kitchen & Bath and Gorilla 100% Silicone Sealant Kitchen & Bath are the common examples, and both makers advertise built-in mildew protection.
Siliconized acrylic latex
These blends clean up with water, tool smoothly, and can be painted. Makers such as DAP position products like Kwik Seal Ultra as tub and tile sealants with fast water readiness. Reviewers often note that they are easier for beginners but may shrink or crack sooner than pure silicone in a tub that is used daily.
Hybrid and specialty options
Some newer hybrid sealants combine silicone and polymer chemistry to bond to damp surfaces or to be paintable while staying flexible. If you choose one, read the label for the words tub, tile and wet area, and confirm the maker allows continuous water exposure after cure.
What to Look For on the Label
- Kitchen and bath rating: This indicates a mildew-resistant formula intended for wet areas.
- Cure time: Makers typically list a tack-free time and a longer wait before the tub or shower can be used. Follow the stated wait, often 24 hours or more, before exposing the joint to water.
- Color: White, clear and almond are common. Matching the tub or grout color hides stains.
- Tube size: A standard tube covers a limited run; measure the tub perimeter and joint size before buying.
- Application temperature: Makers list a minimum surface temperature. Cold, damp bathrooms can interfere with adhesion.
- Ventilation notes: Many silicones release an odor as they cure. Open a window or run the exhaust fan.
Prep Matters More Than Brand
Most failed joints come from poor preparation. Remove all old sealant with a scraper or a caulk-removal tool, clean residue with the solvent the maker suggests, and let the joint dry completely. Fill the tub with water before applying sealant so the gap is at its widest; the sealant then stays compressed rather than stretched when the tub is in use. Cut the nozzle small, apply a steady bead, tool it with a caulk tool or a gloved finger, and remove masking tape before a skin forms. Do not use the tub until the cure time on the package has passed.
Fit and Compatibility Notes
- Acrylic and fiberglass tubs: Choose a sealant labeled safe for these surfaces. Some solvents used to clean up can mar the finish, so follow the tub maker’s care guidance.
- Cast iron and steel tubs: Silicone bonds to enamel and glazed tile; clean off soap film first.
- Natural stone surrounds: Some sealants can stain porous stone. Look for a product the maker states is stone-safe.
- Wide gaps: Joints much wider than the maker’s stated maximum may need a foam backer rod, which many manufacturers describe in their instructions.
- Persistent mold: Mildew-resistant additives slow growth but do not make a joint immune. If mold returns repeatedly, address ventilation and any hidden moisture.
Budget Tiers
| Tier | What you typically get | Good fit |
|---|---|---|
| Budget | Acrylic or siliconized acrylic tubes | Short-term touch-ups, rentals, painted areas |
| Mid-range | Name-brand 100 percent silicone for kitchen and bath | Most owners recaulking a tub that is used daily |
| Premium | Specialty silicone or hybrid products with extended mildew claims or clear finishes | Visible joints, natural stone, long-lasting repairs |
Pick X If
| If you want | Pick |
|---|---|
| A durable, flexible seal for a daily-use tub | 100 percent silicone such as GE Silicone 2 Kitchen & Bath or Gorilla 100% Silicone |
| Easy tooling and soap-and-water cleanup | Siliconized acrylic such as DAP Kwik Seal Ultra |
| A paintable joint at a wall or trim line | DAP Alex Plus or Sashco Lexel |
| A nearly invisible bead | A clear silicone or Sashco Lexel |
| A quick fix for a small gap | A small tube of acrylic tub and tile caulk |
Alternatives to Consider
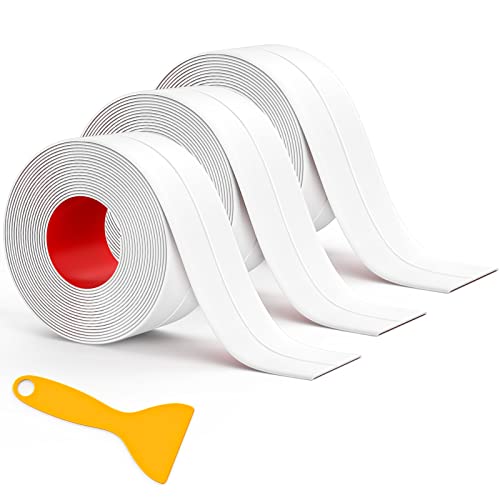
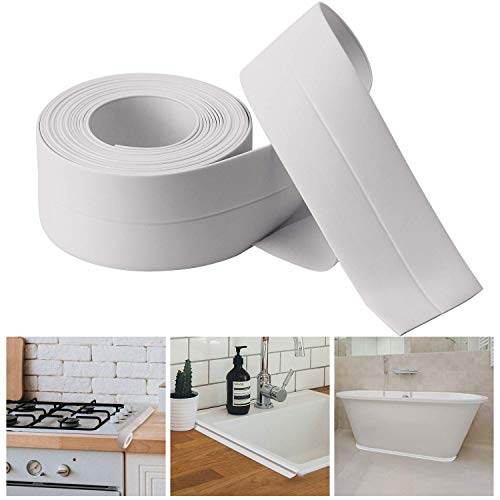
- Caulk strips and peel-and-stick trim: Adhesive tub trim covers gaps without a caulk gun. Makers present these as a quick option, but reviewers note that edges can lift in steamy rooms.
- Flexible tile-edge trim: Used during new installation, it reduces the need for repeated caulking.
- Professional recaulking: If the tub has movement, soft wall board or repeated leaks, a contractor can check the cause rather than only replacing the bead.
Frequently Asked Questions
How often should a bathtub be recaulked?
There is no fixed schedule. Replace the bead when it cracks, peels, shrinks away from the surfaces, or shows mold that will not clean off. Many homeowners find that a silicone bead lasts several years under normal use, but results depend on ventilation and movement.
Can I put new silicone over old silicone?
Makers generally say new silicone does not bond well to old silicone, so the old bead should be removed first. Scrape it out, clean the joint, and let it dry fully. A clean, dry joint gives the new sealant the best chance to adhere.
Is silicone or acrylic caulk better around a tub?
Silicone is the usual choice for tub-to-tile joints because it stays flexible and resists water. Acrylic caulk is easier to work with and can be painted, so it suits areas that stay drier. For the joint at the tub rim, most guidance leans toward silicone.
How long should I wait before using the tub?
Follow the cure time printed on the tube, since it differs by product and conditions. Many labels call for at least 24 hours before water contact, and thicker beads can take longer. Using the tub early can wash out or weaken the seal.
Why does my caulk keep turning black?
Dark spots are usually mildew growing on soap film and moisture trapped at the joint. Improve ventilation, wipe the area after showers, and make sure the old bead was fully removed before applying new sealant. If staining returns quickly, there may be moisture behind the joint that deserves a closer look from a professional.
Is sealant safe to use in a small bathroom?
Follow the maker’s ventilation directions. Many sealants have a strong smell while curing, so open a window or run the fan, and keep children and pets out of the room until the odor fades. Read the label for any other precautions.